


DIY Moringa Wax Recipe
If you have a small area to wax you might just want to whip up your own wax and do it yourself. Or you’re amazingly talented, patient and ready to tackle larger areas like your legs (or other parts) alone. Either way you’ll save a great deal of money doing it yourself. Check out a Moringa wax recipe you can try at home yourself.
Ingredients You’ll Need
- 1 cup of granulated sugar
- 2 tbsps of Lemon or Lime juice
- 1 tsp of salt
- 2 tbsps of water
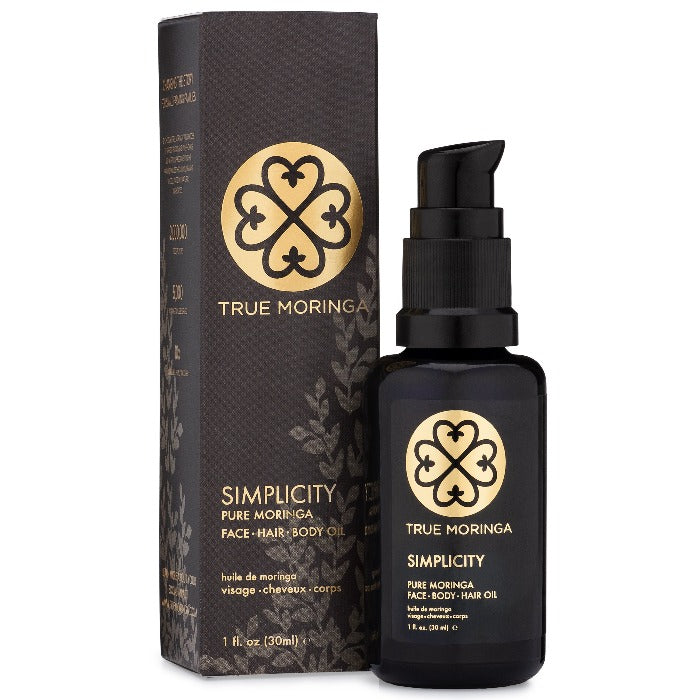
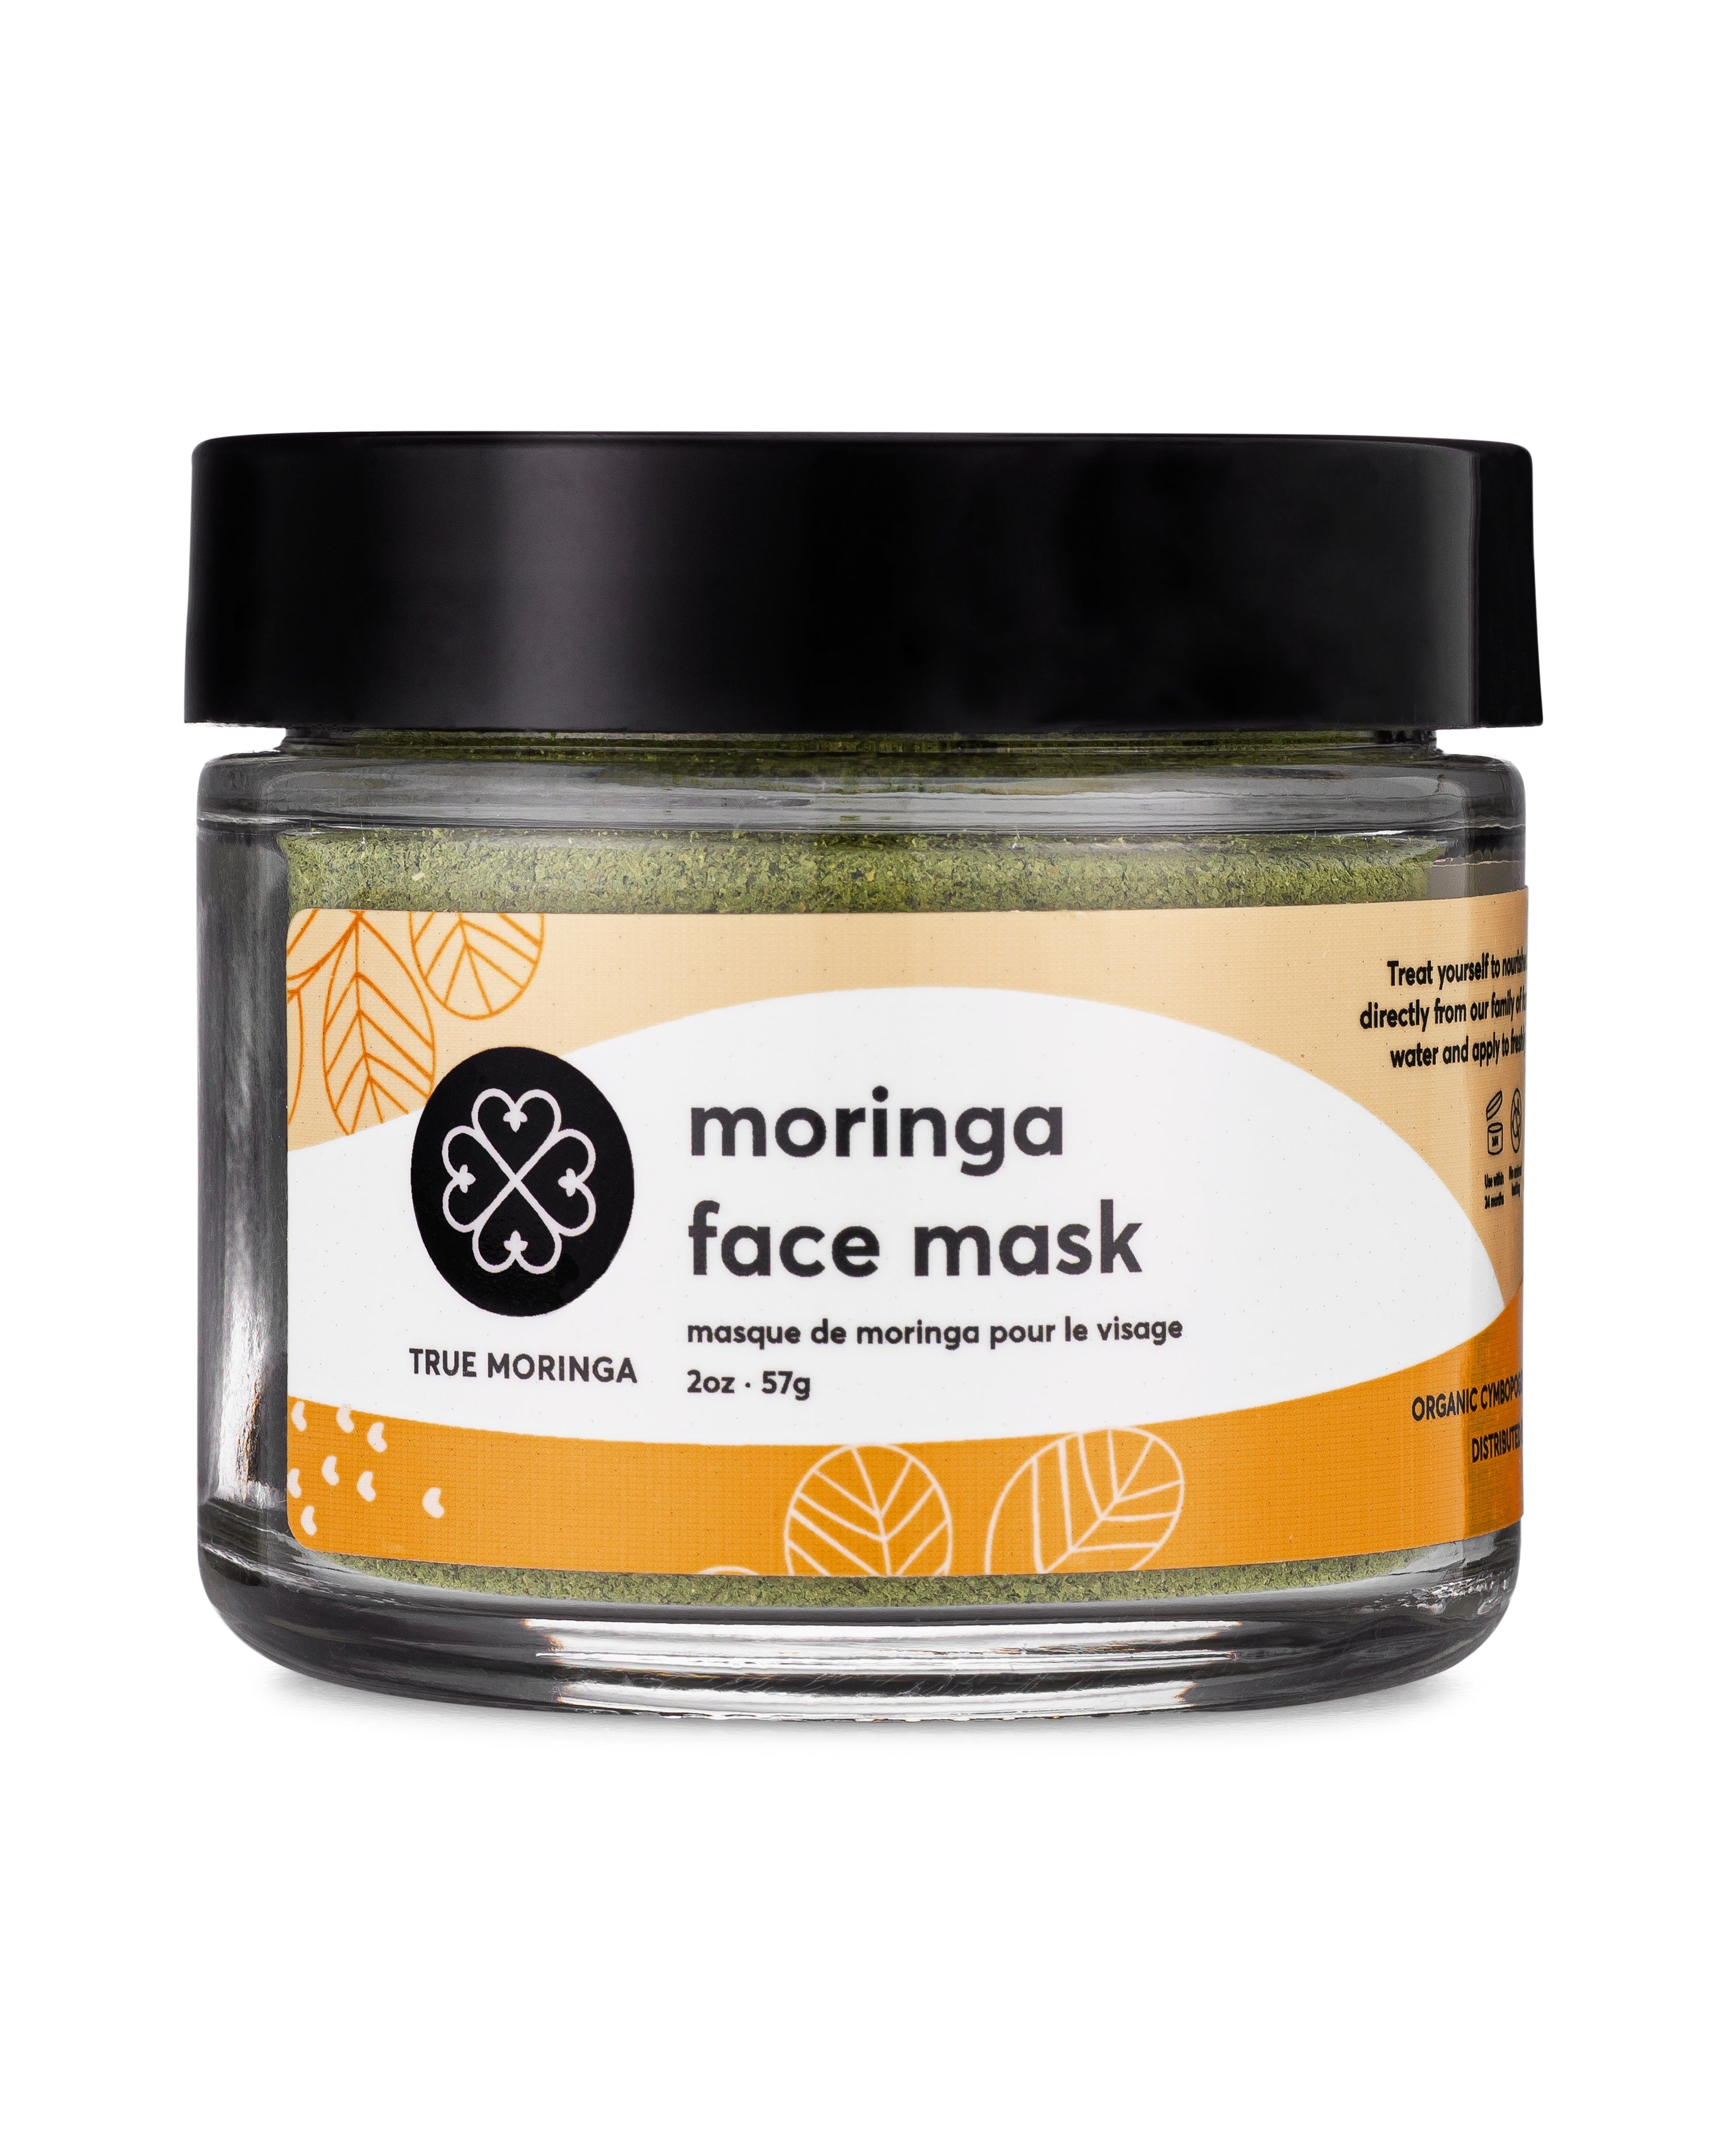
- 5 drops of Moringa oil
Tools
- Pot
- Measuring utensils
- A Pyrex bowl
- Wooden Spoon
Before you start place your Pyrex bowl in the fridge, after coating it with a light layer of water.
Put your ingredients in the pot (but not the Moringa oil) and on the stove at low heat. Stir for 10 minutes continuously not letting it burn or boil. It should turn into a golden brown color. Turn off the stove and grab your Pyrex bowl from the fridge.
Slowly pour the mixture into the bowl and stir. When it starts to get sticky drop your Moringa oil into the mixture and keep stirring. The Moringa oil has anti-inflammatory and anti-bacterial properties to help your skin while waxing.
Once the texture gets sticky pop into the fridge overnight.
How to Use
Sugaring is different from “regular” waxing because you apply the wax on the opposite direction of hair growth and then removing the hair in the direction of hair growth.
Take out a piece of the wax and stretch it against your skin. Pat it down and pull the hair off! You can reuse the piece a few times until it stops sticking and throw away.
If your hair is too short you will not get great results. On the other hand, if it’s too long it will hurt more. Wait about two to three weeks after your last shave to try or roughly a month after your last wax. Do not let water get into the mixture.